
All of these cards were fun to create and come up with! I am loving the Close to My Heart Cricut Cartridges. I have Art Philosophy and Artbooking and am enjoying them both equally!
 |
| CTMH Supplies: Cricut Artbooking Frame Cuts, Stamps: Feathers & Catch You Later, Cardstock: Colonial White & Kraft, Inks: Lagoon & Goldrush |
 |
| CTMH Supplies: Stamps: Catch You Later & Balloon Talk, Cardstock: White, Lagoon & Sweet Leaf |
 |
| CTMH Supplies: Balloon Talk Stamp Set, Lollydoodle Paper, Shimmer Trim, Flamingo Dots, Cardstock: White & Lagoon, Inks: Pear, Lagoon, Sunset & Gypsy This card was inspired from the April Stamp of the Month flier from Close to my Heart. |
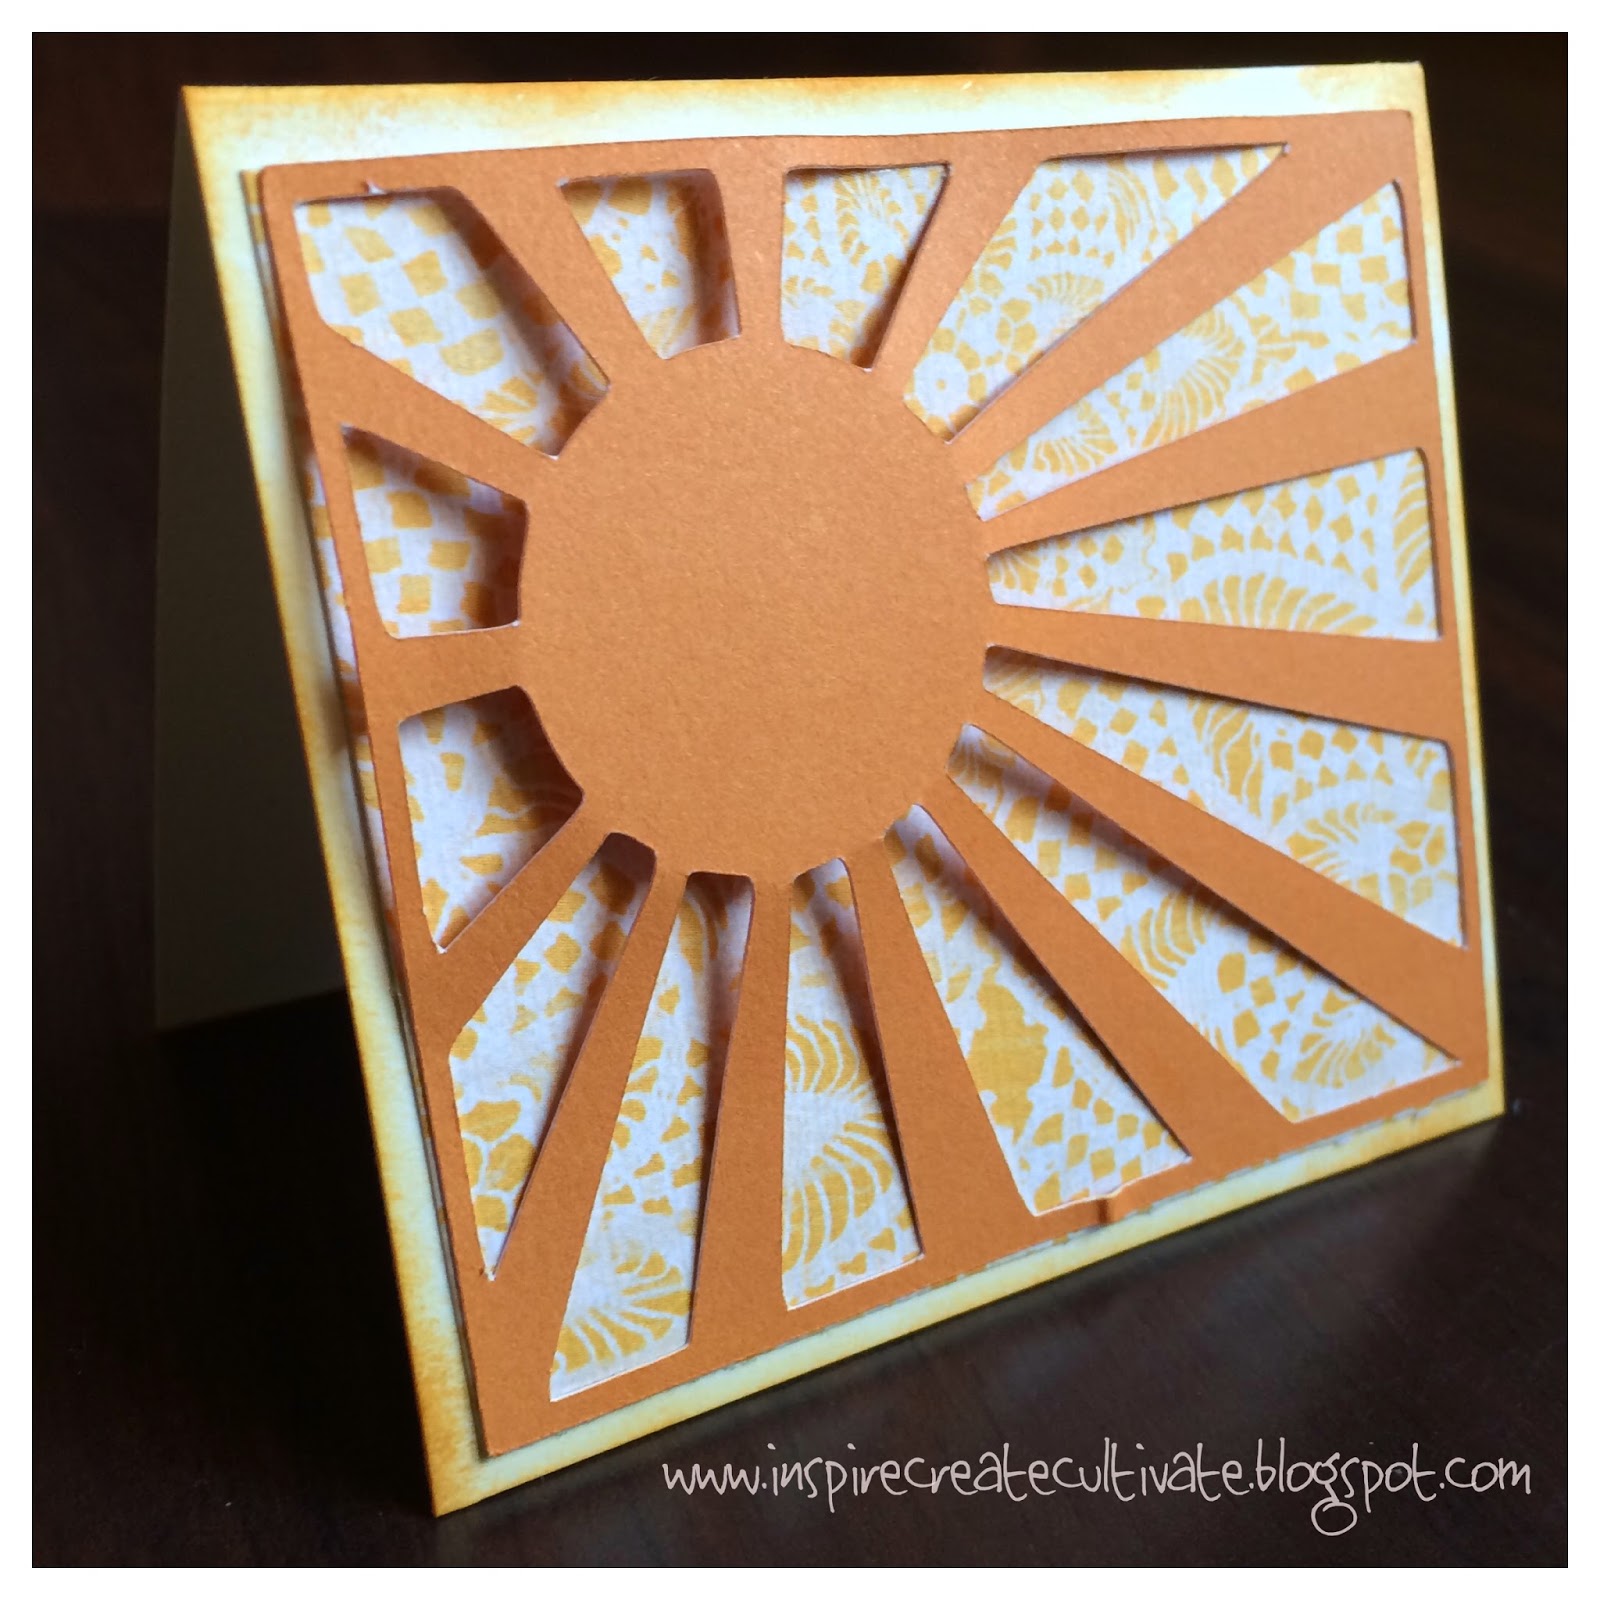 |
| CTMH Supplies: Cricut Artbooking Sun Overlay Cut, Jubilee Paper, Cardstock: Goldrush & Colonial White |
 |
| CTMH Supplies: Believe in Yourself Stamps, Skylark Paper, Colonial White Cardstock, Durable Studs, Ink: Lagoon & Desert Sand |
Ok, this next card was my favorite to create!! I MADE the paper flowers! YOU can make the paper flowers!
I was perusing through my Art Philosophy Cricut Cartridge and decided I wanted to try out the flowers that it features. This cartridge can cut 6 different flowers (there are 2 kinds pictured below). Creating these flowers was SO fun! The cut is like a big swirl and it looks rather confusing at first! I tried rolling the flowers with just my fingers but found much more success in using a sharpened pencil. I used the wooden part just about the sharpened lead - it's the perfect angle for rolling, a great fit and a tool we all have! You roll the flower up (from the outside of the swirl-cut in) until you get to the base, which kind of looks lilypadish. You apply glue to the base so all the paper is adhered. As you do this you need to decide how tight or loose you'd like the flower before it sets in glue. To loosen up the flower let go of the roll and let it unwind. If it looks lopsided or isn't opening as much as you'd like you can help to unwind it a bit. I used my finger to unwind it kind of like I did back-in-the-day with an old cassette when you had to wind the tape! The final step is to spread the petals as much as you'd like. Glue in position on your project. Wha-la! B.E.A.UTIFUL. and FUN!
I'll post more about flowers later on because I am totally digging them. They are so cute. Fun. AND there are so many things you could do with them.... I stamped [the green] one before I rolled it for a neat textured look, I added Stickles to the center of some on a different card, you could ink the edges of the petals, you can use a flourish stamp like I did for accent or you can cut out leaves, you can cut them out in paper like I have done or you could use fabric! Think of all the ways you could use them in all your home decor projects: monograms, wreaths, frames, shadow boxes, on and on...! I'm totally into monograms; this is on my list of things to-do!
 |
| CTMH Supplies: Stamps: Cricut Art Philosophy Tags & Believe in Yourself, Art Philosophy Flower Cuts, Cardstock: Sweet Leaf, Smoothie, Goldrush & Slate |
No comments:
Post a Comment